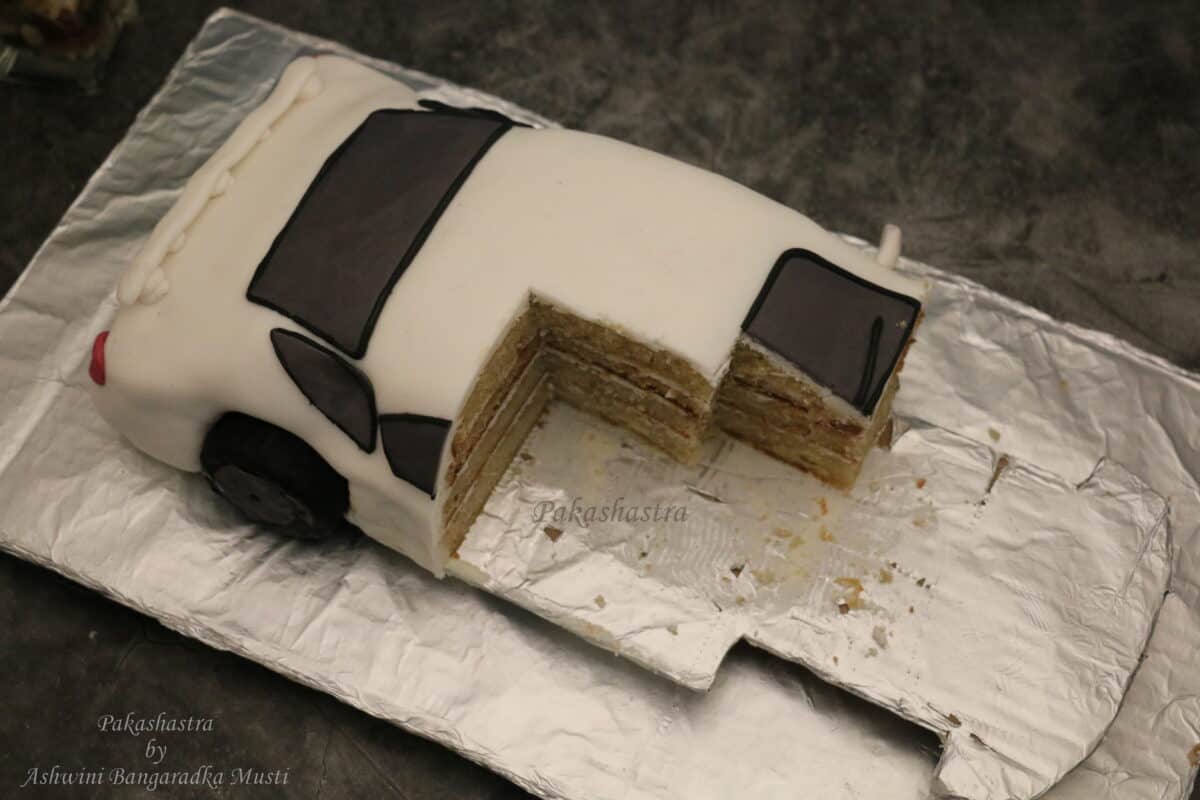
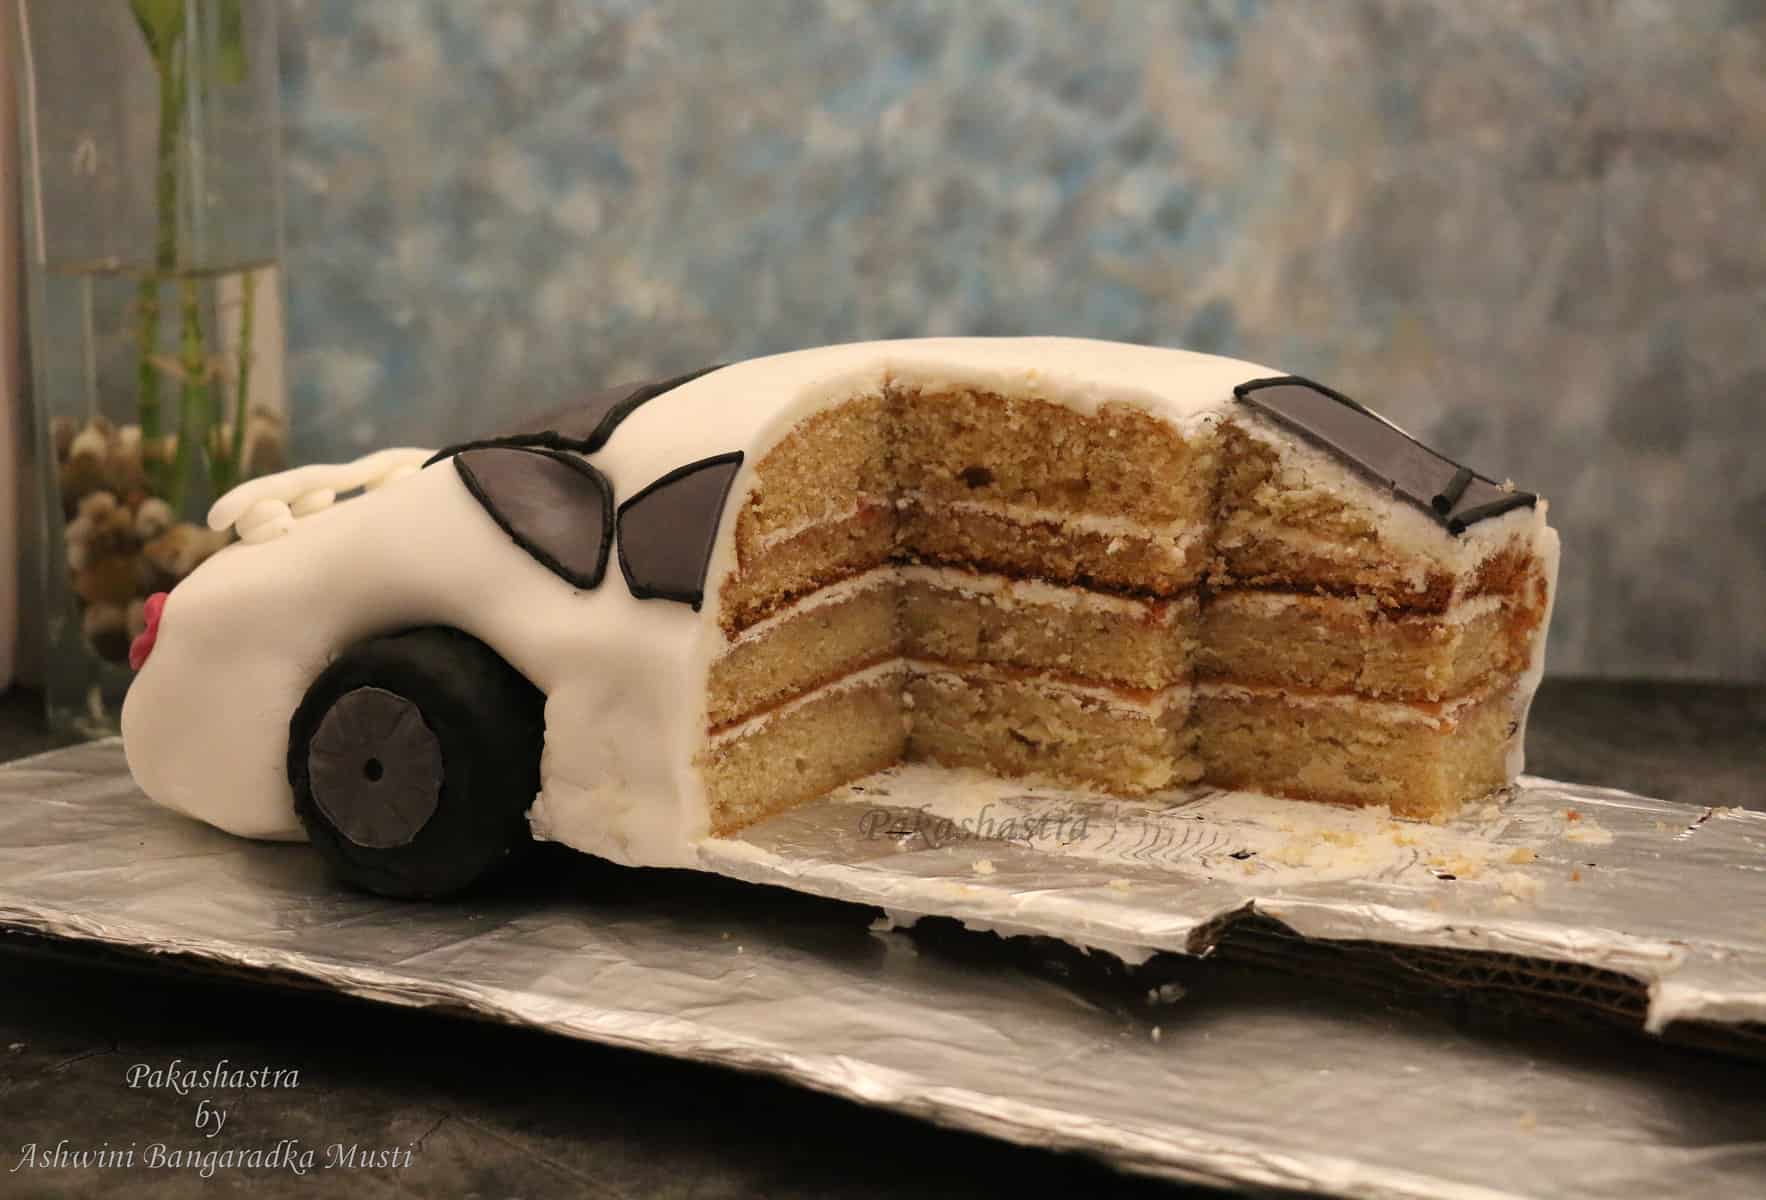
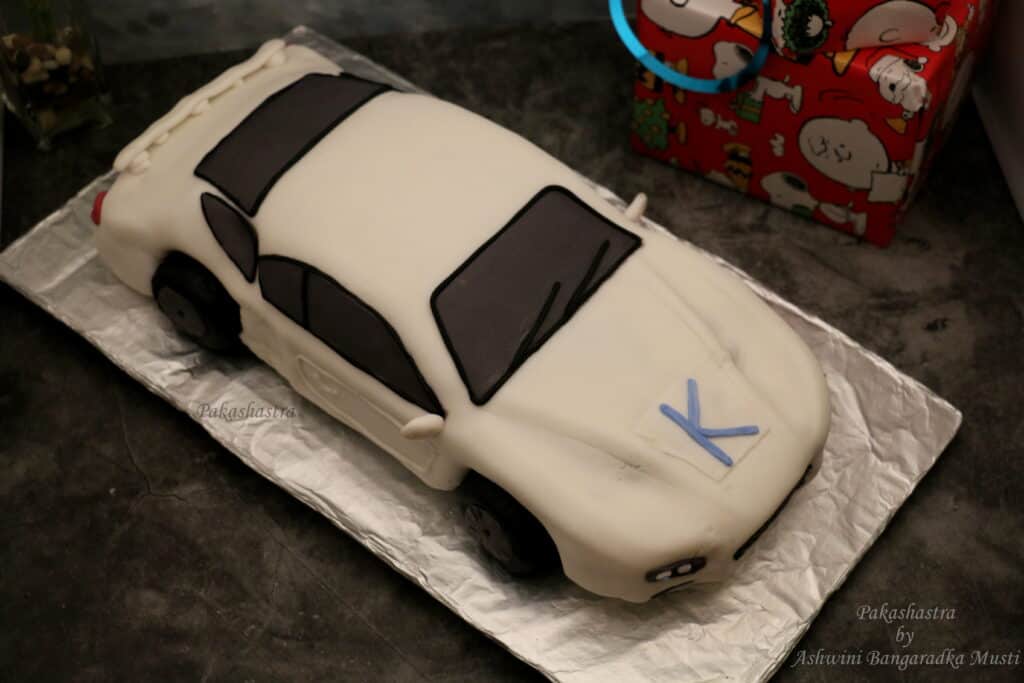
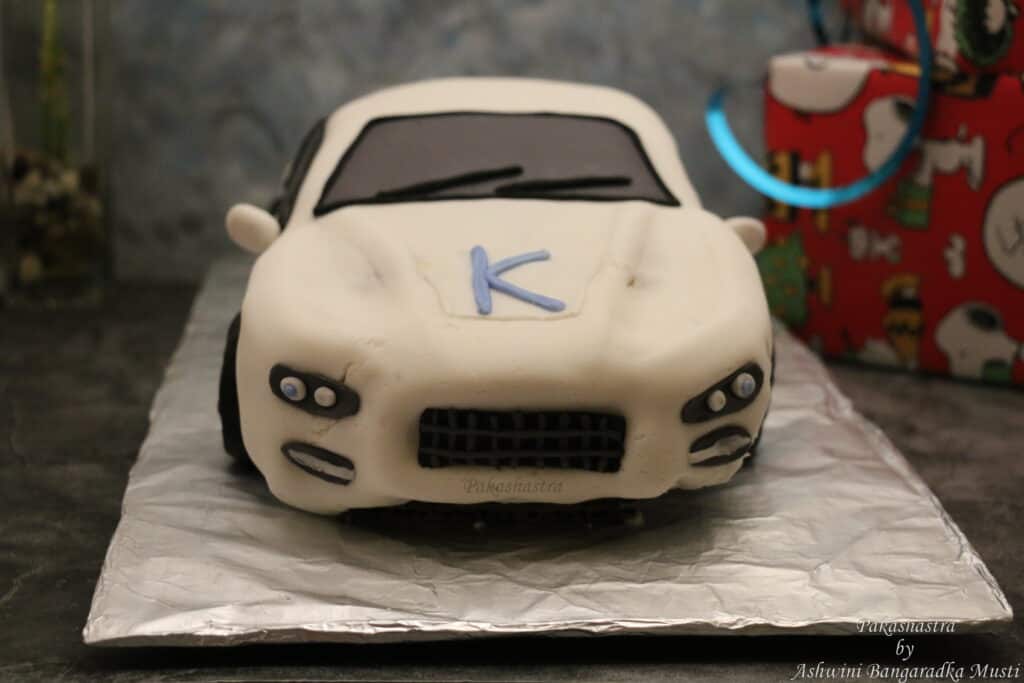
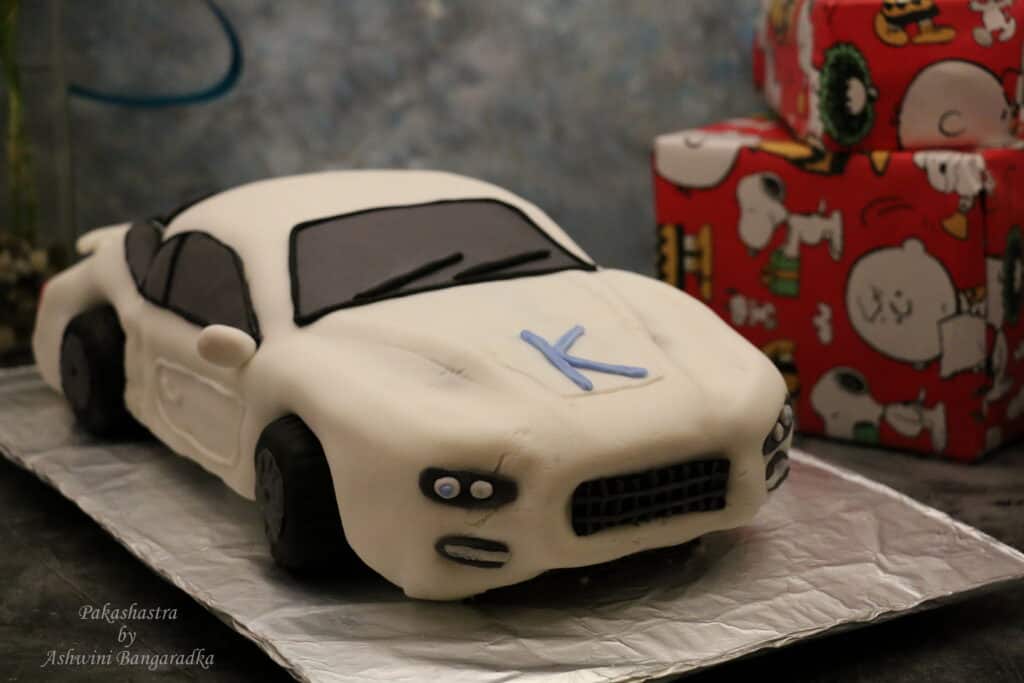
This 3D Car cake is a simple eggless Vanilla cake carved into a 3 dimensional car. The cake is then covered with fondant. The details of the car are also made using fondant.
What is special about this cake?
When my little boy, a car fanatic, was turning 4, he asked for a Car cake. He asked and I made it!
This is my first fondant cake. I do not have any fondant decorating tools and had no luck finding the right sized template to design the car. Hence made it out of my own imagination! Starting from the cake board, everything is home made and the cake is 100% edible. I used the Amazon package box (of course, wrapped it in foil) to make the base of the car!
This is the most laborious (with around 12hours, staying up awake whole night) and challenging (sketching the design, cake structure building with measurements & calculations involved) dish I made so far with no decorating tools and templates; just used knife, rolling pin and the humble silicone mat!
Was the Birthday boy impressed?
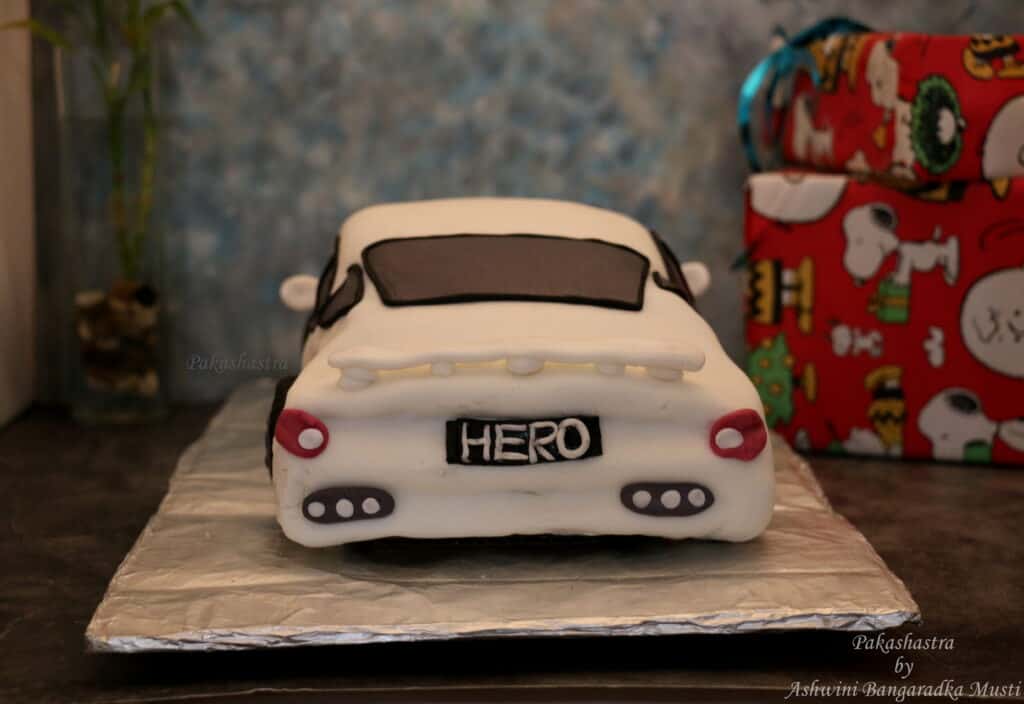
After spending 7 hours at a stretch working on the fondant and detailing the car, the midnight of his birthday, I was super excited to see his reaction. When the birthday boy woke up and ran down to see the cake, he exclaimed “WOW” and started playing around with it and asked me if he could open the doors of the car (a big ask, I must say, phew!). His exclamation and enthusiasm got happy tears rolling down my cheeks, worth ever second spent.
Though this cake does not have the perfect fondant work, it is so special to me and will remain etched in my memory forever! My boy was so possessive of the cake that he said “ughhh, this is the last piece of my cake and my car is gone!”
What did I use to make the cake?
I prepared this simple Eggless Vanilla Cake. I used Strawberry Jam as glue to do patch work needed while carving the cake. For layering, I used American Buttercream frosting.
Ingredients
FOR THE CAKE: All Purpose Flour – 4 1/2 cups
Thick Curd – 3 cups
Sugar – 2 1/4 cups
Canola Oil – 1 1/2 cups (or any other vegetable oil)
Vanilla Essence –3 tablespoons
Baking Powder – 1 1/2 tablespoons
Baking Soda – 1 1/2 teaspoons
Salt – 2 teaspoons
Milk – 1/4 cup
FOR AMERICAN BUTTERCREAM FROSTING:
Butter, softened - 1 cup ( 2 sticks)
Powdered Sugar - 2 1/2 cups (we do not need too stiff frosting)
Vanilla Extract - 1 tablespoon
FOR LAYERING:
Fruit Jelly (or Jam) - I used strawberry jam
FOR FONDANT ICING: ( I used store bought Wilton Fondant)
Fondant for Body Color - 2 lbs (907 gms) - I used White Color to reduce the use of food color.
Fondant for detailing - 1/2 lb ( I bought black color fondant)
Instructions
PREPARING CAKE:
- Preheat the oven to 180 degrees C/350 F.
- Grease and dust one 9"x13" cake tin and another 8"x8" cake tin. Take 4 lined cup cake molds to make the wheels of the car.
- In a bowl, take curd and beat it until it is smooth and there is no lump.
- Add sugar and beat until the sugar melts.
- Now add baking powder, baking soda and salt to the curd mixture. Set aside for 3-4 minutes until it becomes frothy.
- Pour oil and vanilla essence. Mix gently until well combined. Do not over mix as the air captured in the mixture might be lost.
- Fold in all purpose flour, using a spatula. Mix gently until well combined. Do not over mix.
- Pour the cake batter into the prepared cake tins and into 4 lined cup cake molds.
- Bake for approximately 40 minutes or until the skewer inserted in the centre of the cake comes out clean.
PREPARING AMERICAN BUTTERCREAM FROSTING:
- Whisk butter until it is creamy.
- Reduce the speed of the electric mixer, add powdered sugar, 1 cup at a time until it is well combined.
- Increase the speed to medium , add vanilla extract and continue to whisk until the frosting it smooth and creamy.
CARVING AND ASSEMBLING THE CAKE:
- Horizontally halve both the cakes.
- Using the template, cut out each slice of the cake. Place a cake cut out slice as per the template on the car base, spread a layer of jelly and then buttercream. Repeat this with all other cake slices. Since I did not have any template, I directly placed the 2 large cake slices (9x13) layered with jelly and buttercream on a prepared car base, topped it with 2 smaller slices (8x8) and layered them with jelly and buttercream. Then I carved the car design on the cake.
- Crumb coat the cake all over and refrigerate for at least 2 hours.
- Now to prepare the wheels, cut the cup cakes to fit into the wheel groove of the template. Crumb coat the 4 wheels with buttercream and refrigerate for at least 2 hours.
- Roll out a large fondant sheet to cover the cake. Place the sheet on the cake, trim the extra edges and stick the fondant sheet to the cake.
- Shape the fondants for the car detailing and stick them on the cake. Add the headlights, grill, rear lights, wiper blades etc.,
- Now to prepare the wheels cover black fondant on the wheel cakes and place each wheel in the groove.
- The car cake is now ready. Cover the cake and refrigerate until the event.
Notes:
- I did not moisten the cake using simple syrup as I wanted the cake to be strong enough to bear the weight of the fondant. The moistness would not have allowed me to carve the cake.
- Preparing this cake with enough tools in hand would make the task a lot easier.
- Prepare well. Start the work ahead. Collect all the tools and templates. Having a template will make it a lot easier. Though I did not have any tools and templates, I baked the cake 2 days ahead. Next day, I carved and layered the cake. The day prior to the birthday, I did the fondant work.